Installation and Removal Procedures
Install JDM
Initial Jeppesen Distribution Manager installation is handled by a self-contained installer package available from support.jeppesen.com. Choose the JDM Windows product to find the download. Follow this link to download and install the latest Jeppesen Distribution Manager software for your Windows computer. If you choose to install JDM on a new computer, you will need to enter your Jeppesen username and password.
To download and install the Jeppesen Distribution Manager software, follow these steps:
- Click the Download JDM for Windows link that is appropriate for your computer and either Run the installer or Save the installer to your computer. If you saved the installer, double click the .exe file to start the installation.
- Click Install on the Welcome screen to proceed with the installation.
- Select Install to add Jeppesen drivers if prompted.
- Click Close on the Installation Successfully Completed screen. The installation is now complete.
- Launch the application from the JDM icon on your desktop or from the Start menu.
Administrative privileges are required to install this application and application updates. In a corporate environment, the IT department can change this permission status.
Login to JDM
-
Launch the JDM shortcut located on your Windows desktop.
-
Check the box to Save Password, if you don't want to enter your user name and password every time you open JDM.
- When prompted, enter your JDM user name and password.
Logout of JDM
-
Click on the drop down arrow next to your user name and customer number.
-
Select Logout.
-
If you prefer to exit the application but remain logged in, go to the JDM menu in the upper left corner and select Exit.
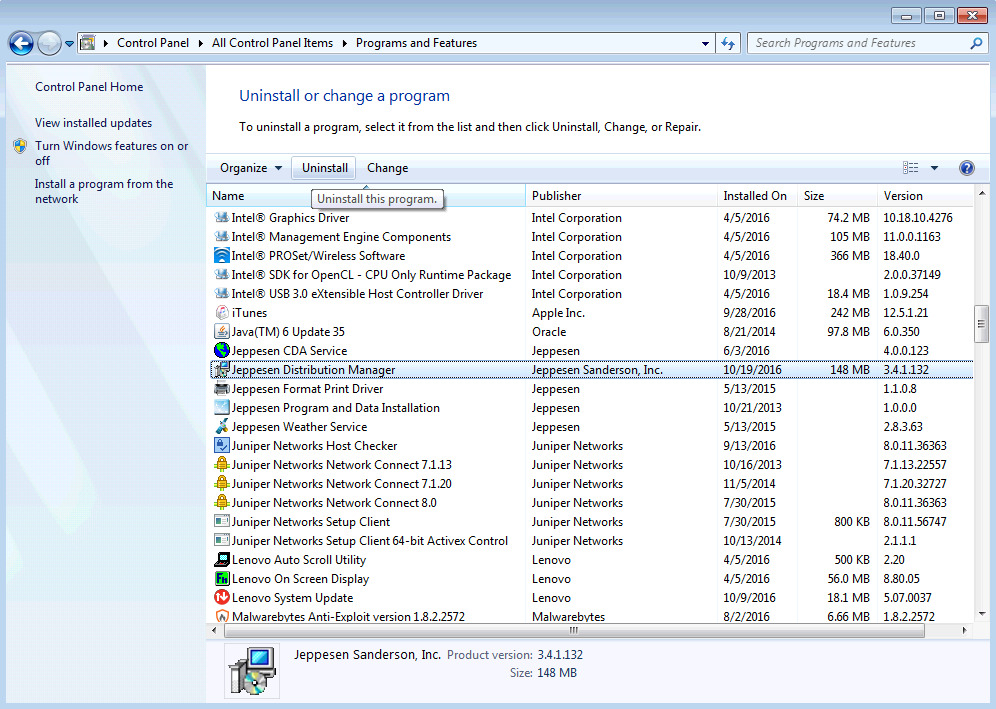
Remove JDM
-
Go to the Control Panel > Programs and Features.
-
Highlight the Jeppesen Distribution Manager software, and click Uninstall from the list of options.