Whenever you create a RoutePack, FliteStar copies the Default Aircraft file into the RoutePack. You can change the data for the aircraft file within the RoutePack without changing the default aircraft data. This is useful, for example, if your costs are different on a specific trip. You may want to add oxygen or other expenses to the RoutePack aircraft and have those changes only apply to the routes within that RoutePack.
You can also modify and create a new aircraft model within the RoutePack and save it to the Aircraft Library Manager for future use.
Once a RoutePack is created:
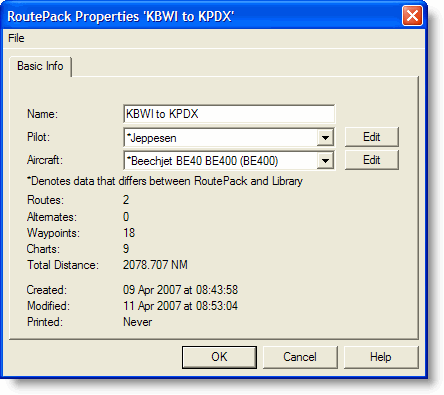
Right-click on the RoutePack in the RoutePack List, and select Properties.
In the RoutePack Properties dialog, select another aircraft model from the drop down menu (the list is derived from the Aircraft Library Manager) or select an aircraft model you wish to modify, and click Edit.
In the Edit Aircraft Model [Aircraft Name] in [RoutePack Name] dialog box, modify the aircraft model information. For information on editing aircraft data, review Editing Aircraft Data.
At this point, you can save the changed information only to the RoutePack, or save the changed information to the RoutePack and add it to the Pilot Library Manager for future use.
Once changes are made, use the following steps to save the information only to the RoutePack:
Click OK in the Edit Aircraft Model [Aircraft Name] in [RoutePack Name] dialog box.
In the RoutePack Properties dialog box, an asterisk appears before the aircraft name indicating that the RoutePack aircraft is different from any of the aircraft models found in the Aircraft Library Manager. Click OK in the RoutePack Properties dialog box.
Once changes are made, use the following steps to save the information to the RoutePack and to either update or add the Aircraft Model Profile in the Aircraft Library Manager. If added to the Aircraft Library Manager, this will not set the default aircraft, but make it available for future use.
Click OK in the Edit Aircraft Model [Aircraft Name] in [RoutePack Name] dialog box.
Click File > Save Aircraft: [Aircraft Name] to Library in the RoutePack Properties dialog box.
This brings up the Save Aircraft Model dialog box where you can give the changed aircraft a unique name or overwrite the existing aircraft with the changed data. Click Save.
Click OK to close out of the RoutePack Properties dialog box.
A message may appear indicating that switching aircraft within a RoutePack causes a loss in aircraft-related information. Switching to a different aircraft changes information, such as Desired Cruise Altitude, Fuel Information, etc. within all the routes in the RoutePack.
See Also: