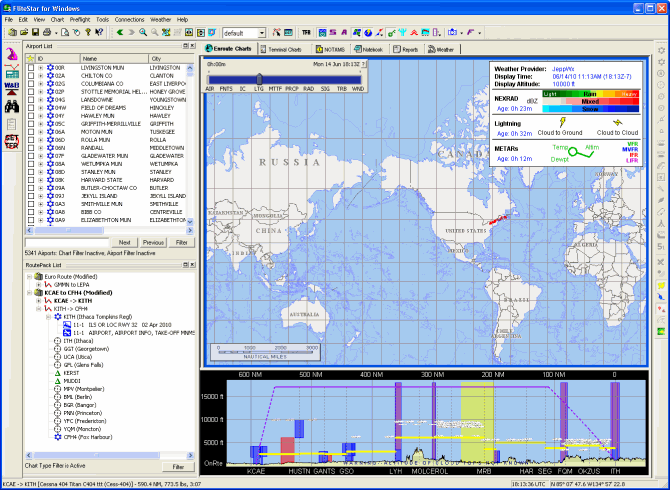
The image below is a screenshot of FliteStar with JeppView3 and weather downloaded. By default, the menus and toolbars are arranged around the edges of your FliteStar main screen. However, you can drag any toolbar to a different screen position.
Additionally, when you hover your cursor over the toolbar buttons, you see popups (called ) which tell you the name of that tool. When a button or tool is grayed out, some other function must be performed for that tool to become available.
Move your cursor over different areas of the image below. Wherever the
white hand cursor appears ![]() ,
left-click your mouse to view information about the item it points to.
,
left-click your mouse to view information about the item it points to.

The FliteStar main screen displays two elements by default, the RoutePack List, and the Enroute Charts View.
| NOTE | Additional features, views (Terminal Charts, NOTAMS, and Text), and an Airport List become available when you install a current version of JeppView on the same computer as FliteStar. |
FliteStar employs the right-click menu format extensively. To open a right-click menu, click the right mouse button. Right-click menus are available throughout the program, such as in the Enroute Charts View, almost all vector objects, the RoutePack List, the Route Calculator, Reports and more.
| NOTE | The right-click menus change depending on the type of item currently selected. |
Continue to the RoutePack Wizard Tutorial.